1Z TDi going into 1977 Scirocco

dieselectric

New member
Joined
Oct 20, 2017
Location
Portland, OR
TDI
1Z Scirocco project
Hi Tdi-Club,

Long time viewer and gleaner of TDI knowledge, but finally created an account and am sharing my project.

Once I find an alternate image host (no thanks Photobucket) I will post photos of my project...but for now I wanted to share where I am at and ask a question.

Many years ago I purchased a wrecked 1996 TDI Passat - running driving, but hit in front. About 5 years ago I parted it all out and was going to put the motor in my VW truck. Then I went to Germany for a year, came back, got into other projects, and plans changed.

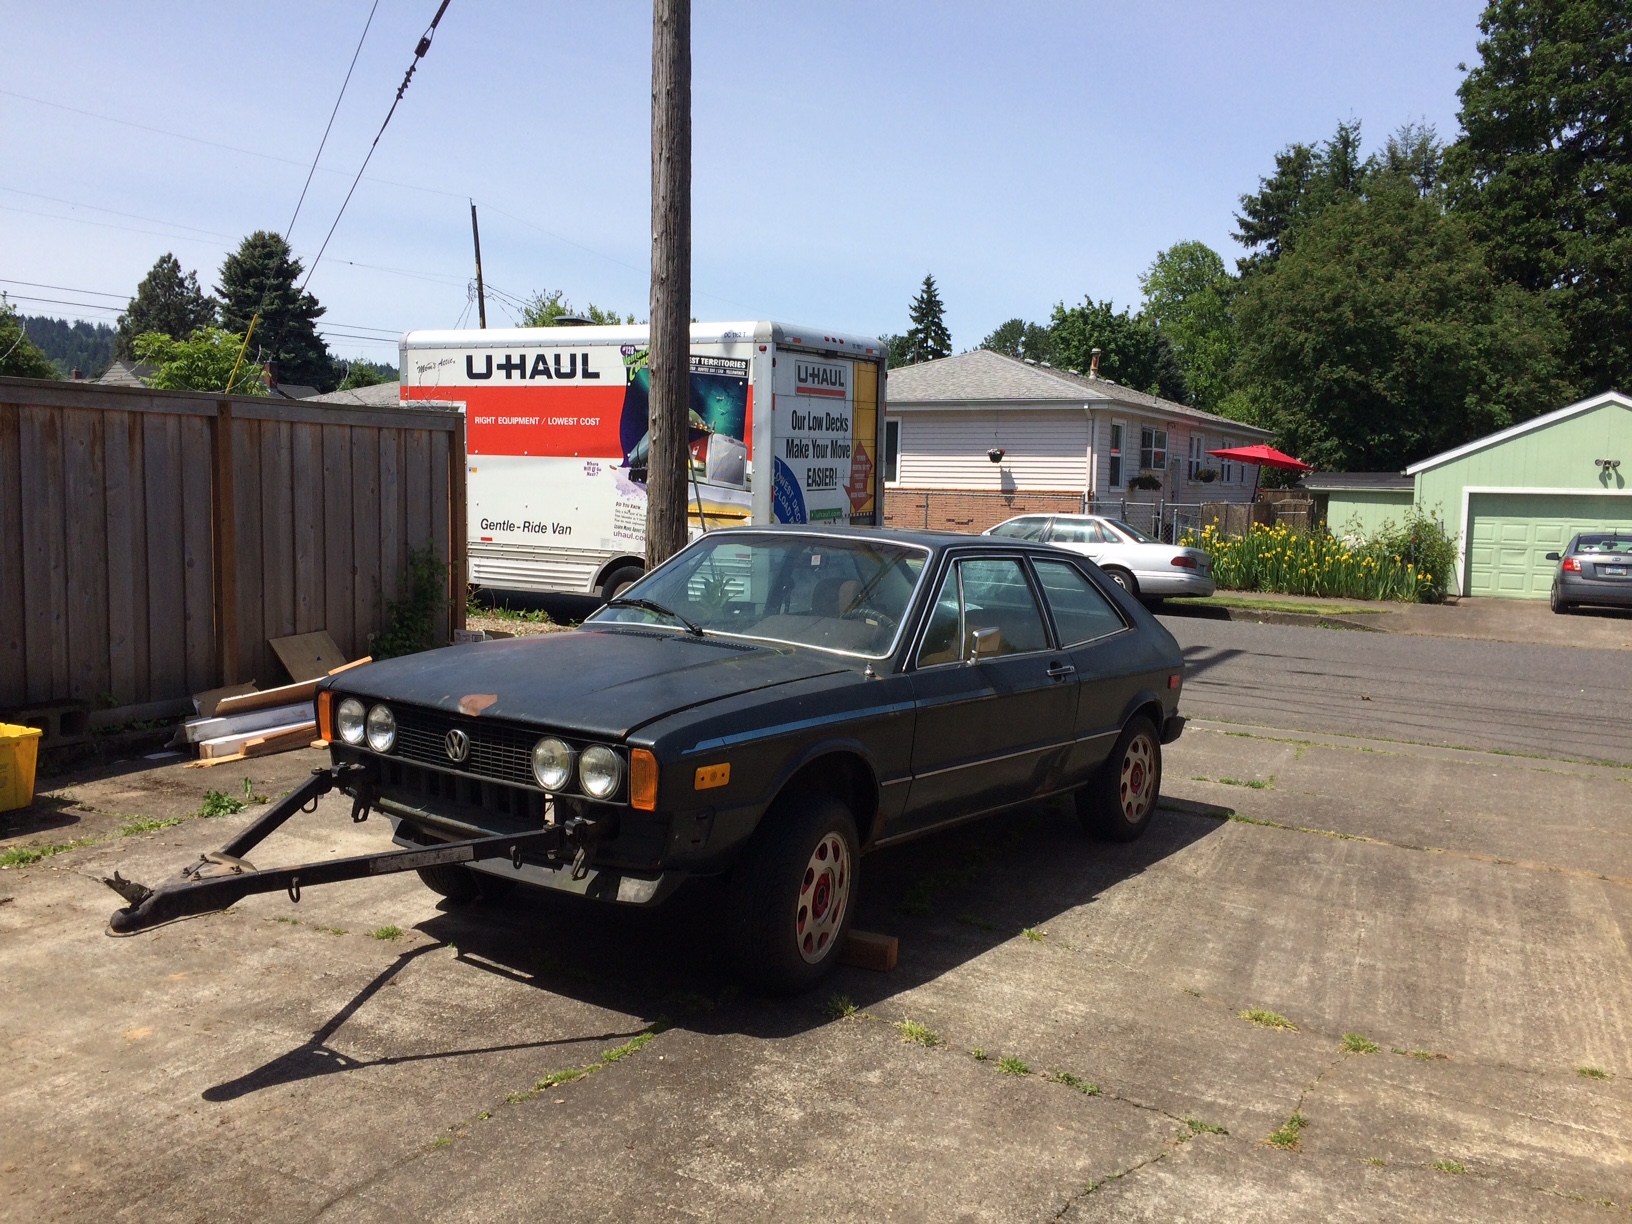
In March I bought a 1977 Scirocco without engine or transmission : perfect candidate for a restoration and TDi conversion! My first car as a teenager was a Scirocco, as well as my 3rd and 4th car as well.

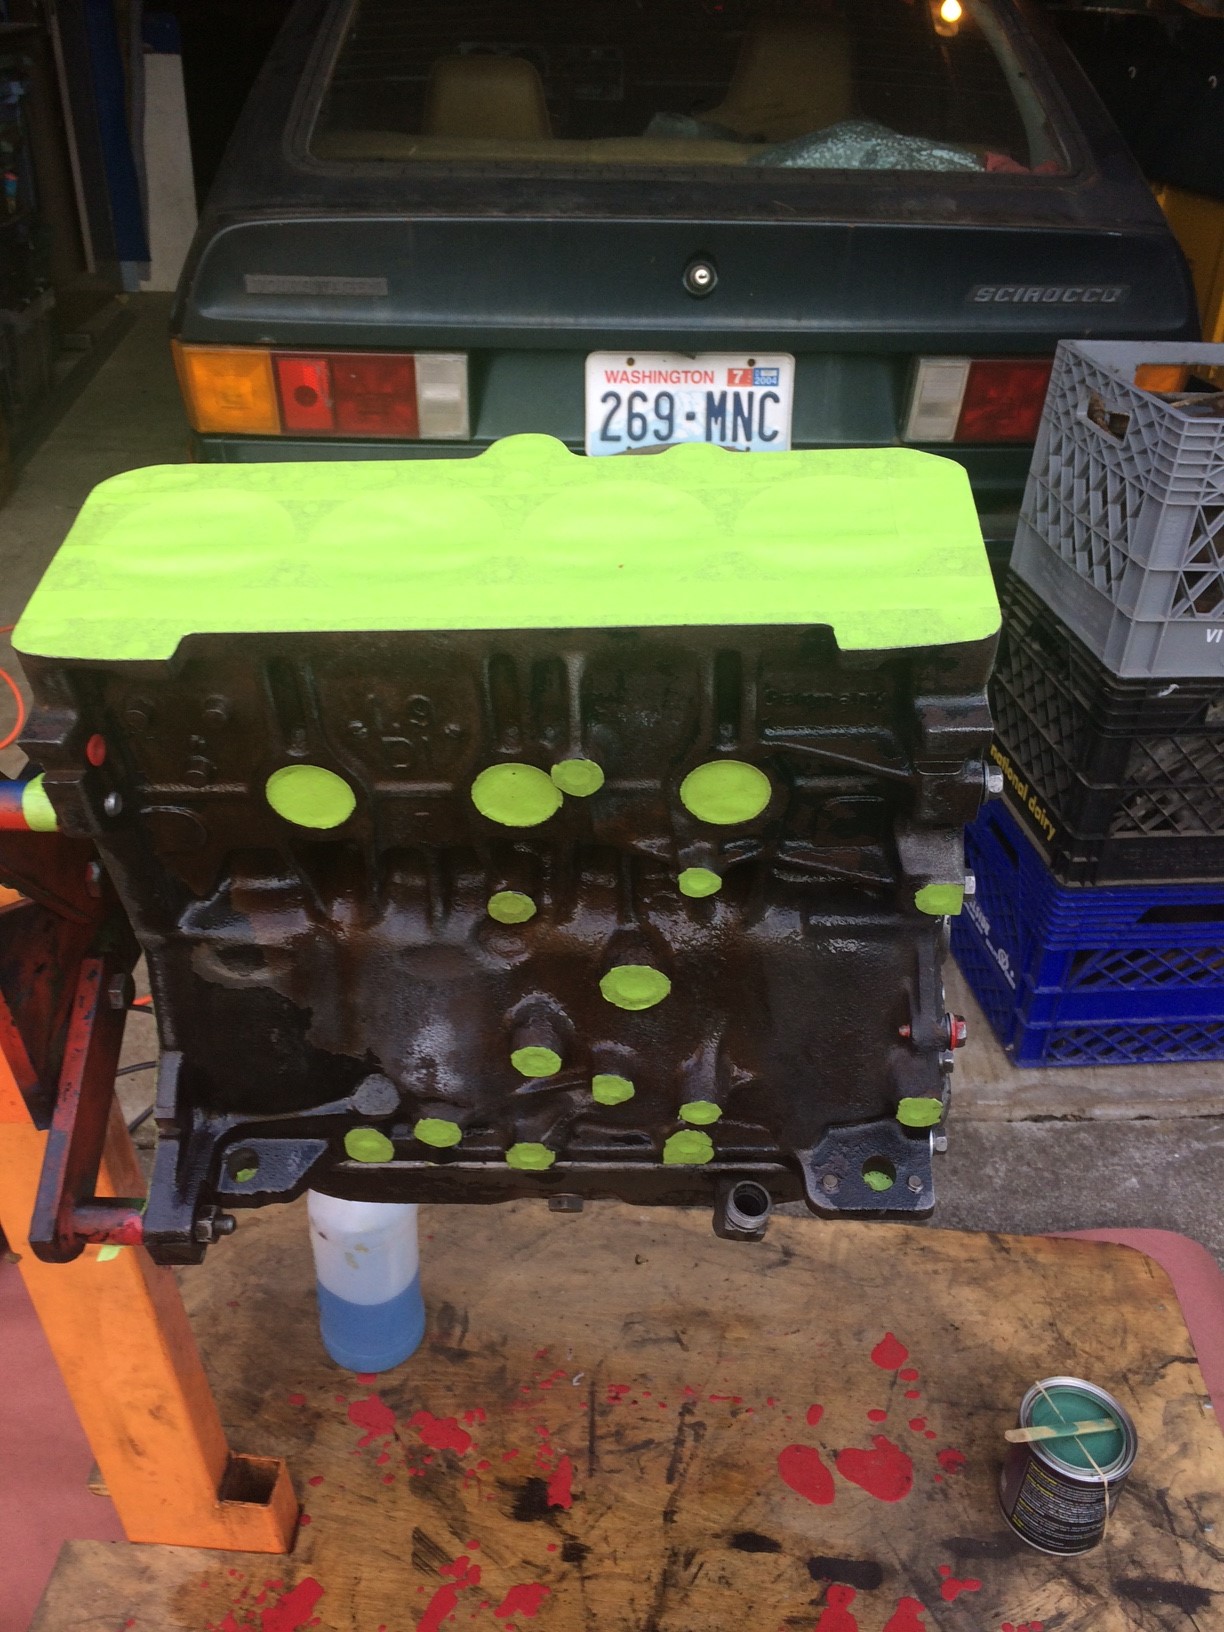
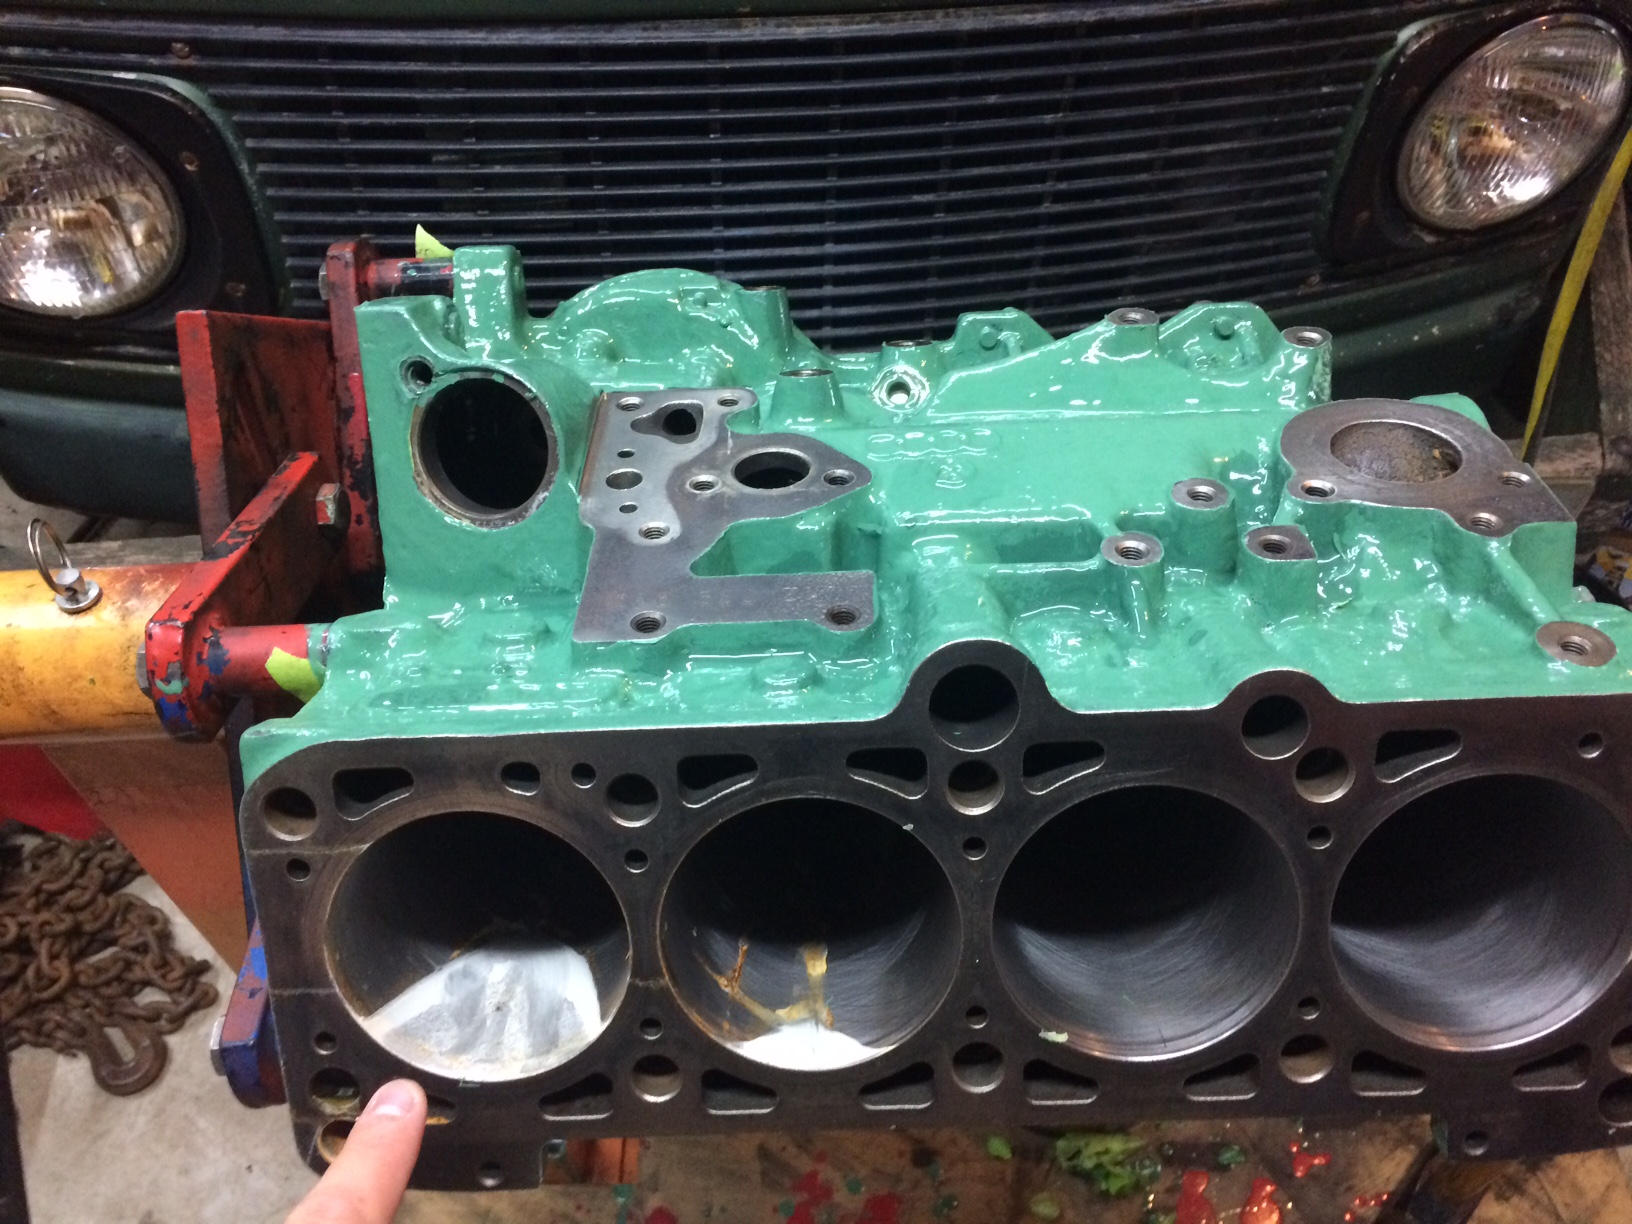
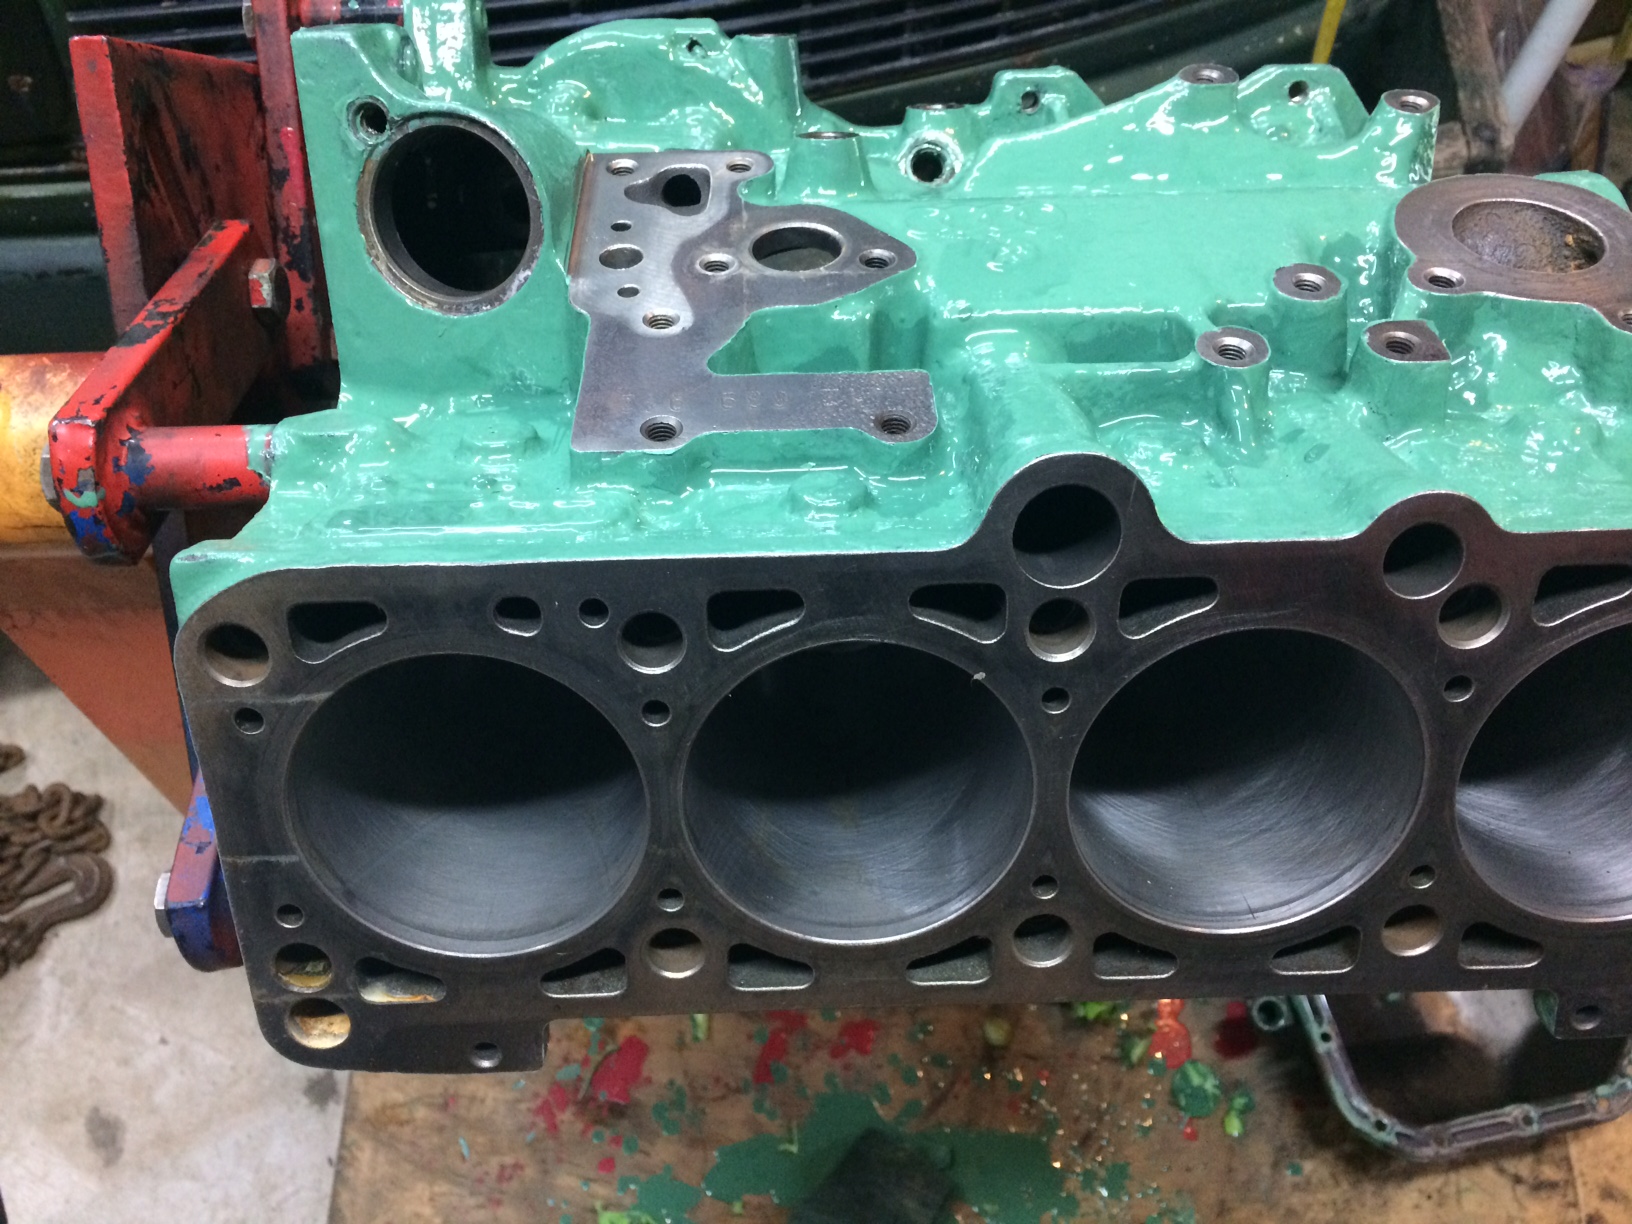
I disassembled the 1Z motor, had the block cleaned, checked and honed by a machine shop, and the crank polished to remove some light scoring. I just painted the block Buick Green with POR-15 engine enamel, and am about ready to get the motor back together.

I have a question about the single-use rod/main bolts, and checking bearing clearances. I want to plasti-gauge the new rod and main bearings to make sure clearances are within spec. But the bolts are single use. So my question is : What torque to I take the bolts to, to get an accurate clamping pressure without having to buy new bolts?!

Thanks in advance for your insight.
 

ToddA1

Top Post Dawg
Joined
Aug 3, 2011
Location
NJ 08002
TDI
'96 B4V, '97 B4 (sold), '97 Jetta (scrapped)
Watching this. Very cool car... wish I never sold mine.

-Todd
 

whitegm1

Well-known member
Joined
Jun 6, 2010
Location
CALIF
TDI
1980 Rabbit Pickup/AHU Diesel, 5spd, 12mm IP, .216 nozzles, 45mpg
Hello,
Just use your old bolts for the clearance check, should be no problem.
Mark
 
Last edited:

dieselectric

New member
Joined
Oct 20, 2017
Location
Portland, OR
TDI
1Z Scirocco project
Thanks for the replies and ideas - I had not thought to just use the old bolts! That is the route I will go down, and I was about to do this over this afternoon, when I ran into a problem of my own making...

For more views also, here is the car that it is going into. At this point I am working on the motor, but the body and interior will receive attention as well.


To bring up to date, a few weeks ago I prepped the block after getting it back from machine shop, and ordered parts to put the bottom end back together. I took great care in taping everything off for using the POR-15 Engine Enamel, along with their suite of products. Here is the block all prepared for paint, wetted down with the Metal Ready prep product. Looks great, right?


I painted the block using a brush, and it was challenging to keep the paint coverage consistent, as it sought low spots and had a lot of runs. I rotated the engine on the stand a few times to mitigate this. In the end the coverage is very thick in some places, thinner in others, but overall is acceptable. I let it cure for a while. Today I removed all the masking and got ready for reassembly. There is still a lot of little cleanup that I need to do, but then I discovered this :


When prepping the block, I put masking tape on sealing surfaces of the oil pan, but did not use an oil pan gasket. When doing the Metal -Ready prep, the liquid migrated into the block and partially filled two of the cylinders, before running back out. This left this white residue you see on the freshly honed cylinder bores. It also settled in a few other places inside the block. In a couple spots, paint actually snuck its way into the block, but luckily those were pretty minor and not on critical surfaces, and I was able to remove. Needless to say, I feel like an idiot for overlooking this, as in the past when I used spray enamel for engine blocks, it was never necessary to use the gasket. I sought to remedy the situation in the cylinders by using a green scotchbrite pad in a motion similar to the crosshatching to remove the residue. I had some success, and the end result is below:


However, you can still faintly see the lines where the residue was on the two left cylinders. So now I have another question : Did the Metal Ready damage the cylinders or compromise the machine work that I had done? Should I be worried, get them rehoned, or just clean everything out very well and start assembling?

As before, grateful for input on this...
 
Last edited:

GoFaster

Moderator at Large
Joined
Jun 16, 1999
Location
Brampton, Ontario, Canada
TDI
2006 Jetta TDI
It will be fine. Carry on.

You can see the crosshatch, and presumably you have wiped a clean cloth dampened in WD40 in the cylinders and confirmed that the cloth comes out clean.
 

ToddA1

Top Post Dawg
Joined
Aug 3, 2011
Location
NJ 08002
TDI
'96 B4V, '97 B4 (sold), '97 Jetta (scrapped)
Metal Ready, is mainly phosphoric acid. I'd neutralize it, to be safe.

-Todd
 

turbobrick240

Top Post Dawg
Joined
Nov 18, 2014
Location
maine
TDI
2011 vw golf tdi(gone to greener pastures), 2001 ford f250 powerstroke
Looks good to me. Probably better to leave that little ghost mark than to scour away the cross hatching trying to get rid of it.
 

dieselectric

New member
Joined
Oct 20, 2017
Location
Portland, OR
TDI
1Z Scirocco project
Thanks all, and I will move forward with final cleanup and reassembly. I am wondering in terms of differences between the AHU and 1Z, are any specifications different regarding assembly instructions/ tightening torques?

I have two manuals that I am working off :
- A paper Bentley for the Mk3 Golf/Jetta/Gti Cabrio that includes the full specs for the AHU motor and related systems.
- A digital download from Scribd that is a "Audi A4, B4 1.9 1Z and AHU service manual". This shows specifications for both motors at the beginning, but then no differentiation as it actually gets into the content. This appears to be a factory VW manual, but is just one big PDF. Are there any meaningful differences in assembly?

I looked at ordering the factory Passat manual in print, but just can't justify the cost at this point if I have other information resources.

Also, from all the info from the forum here that I have read through to date, I am planning on putting the "extra" grooved main bearing shell on the #4 lower cap.
 
Last edited:
Top