Torque_Delight
TDIClub Enthusiast, Modded
Update: August 23, 2020: Since we have now migrated to Xenforo, the instructions below no longer apply as they were for the old system.
You can read the new instructions at this link.
-------------------------------------------
Uploading and posting pictures using the TDIClub picture server
With the new forum server update, the picture server has also been upgraded. Here's the new procedure.
To insert images in a post, you can use different services such as Photobucket, Picasa, Flickr and others but the advantage of using the TDIClub picture server is that your photos will always stay online in your posts. Pictures showed as a link to another website have the risk of being deleted or the link can sometimes change resulting in a missing picture in your message. That is particularly bad when the images are in a important reference post like a "how to".
Even better, your account on the picture server is already created using your forum identifications informations.
How to do in 10 easy steps:
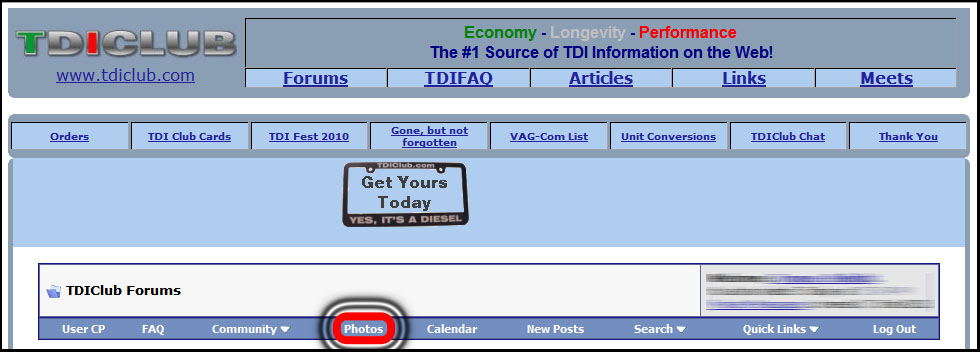
1. Access the server by the link pics.tdiclub.com or by clicking the "Photos" link into the forum's header.
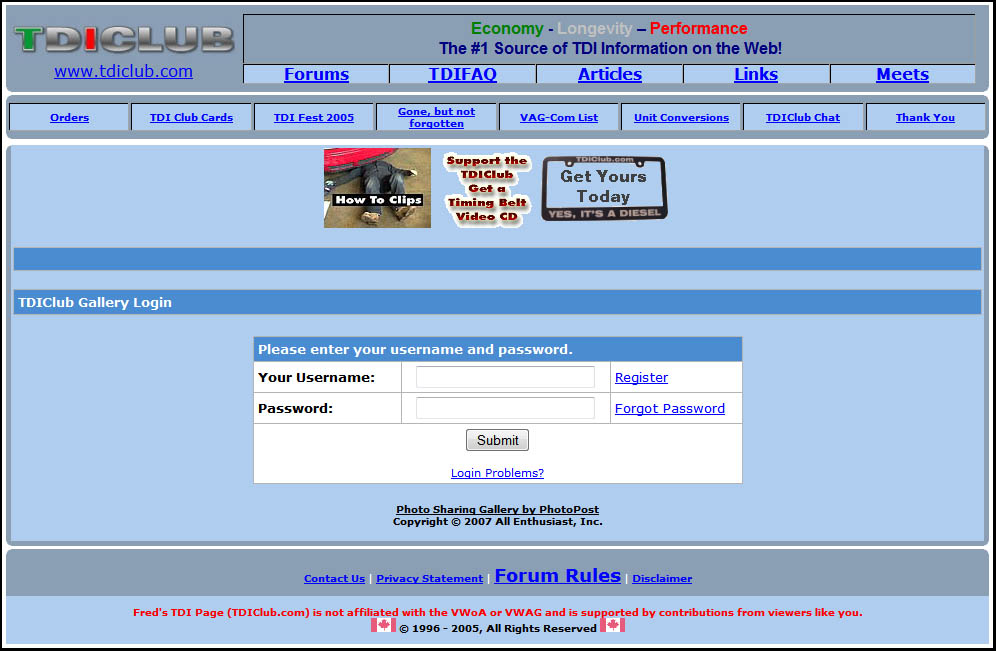
2. If you are not already logged in, you need to do it by clicking on "Login".

3. Login using the login informations of the TDIClub forum.
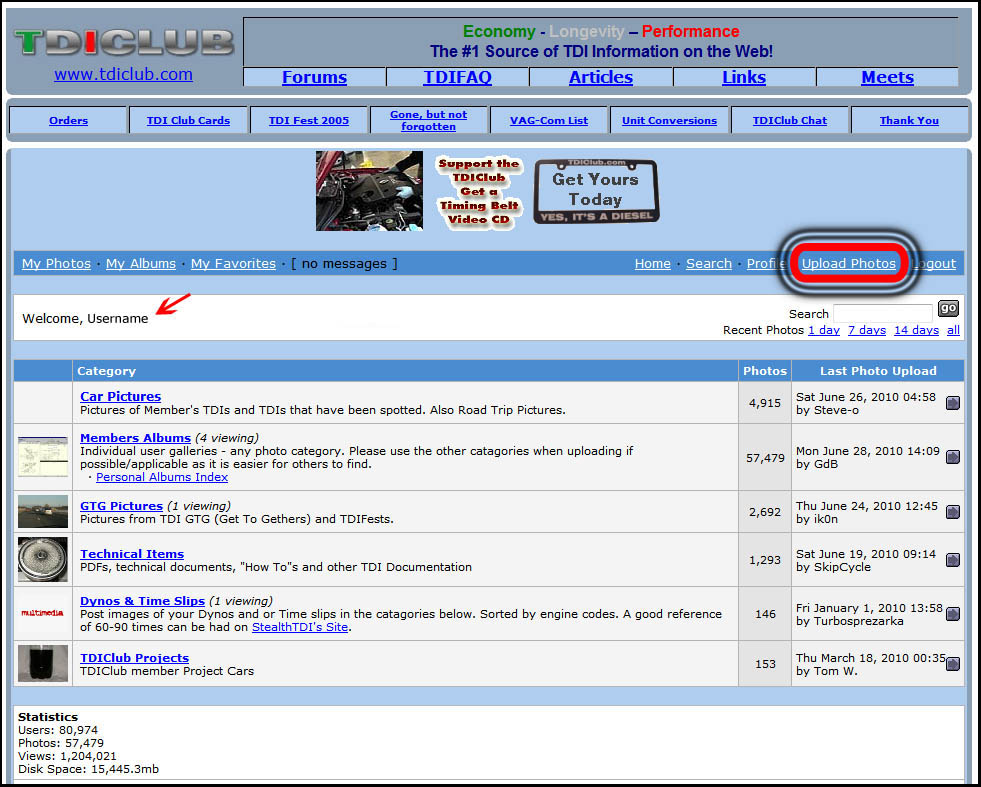
4. Once connected, your username will be shown.
Click on "Upload Photos".
5. Select the file from your computer using the Browse button and then click "Upload/Submit".
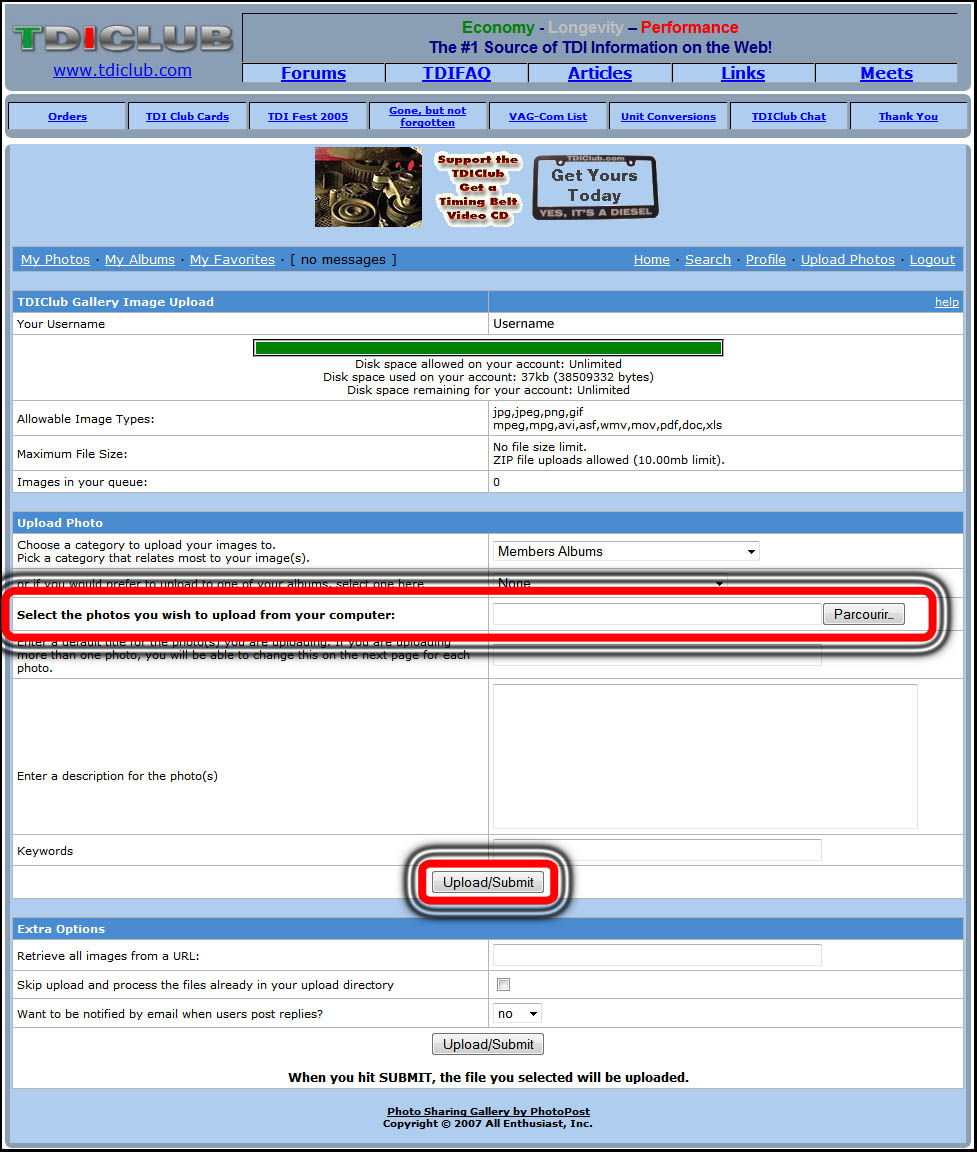
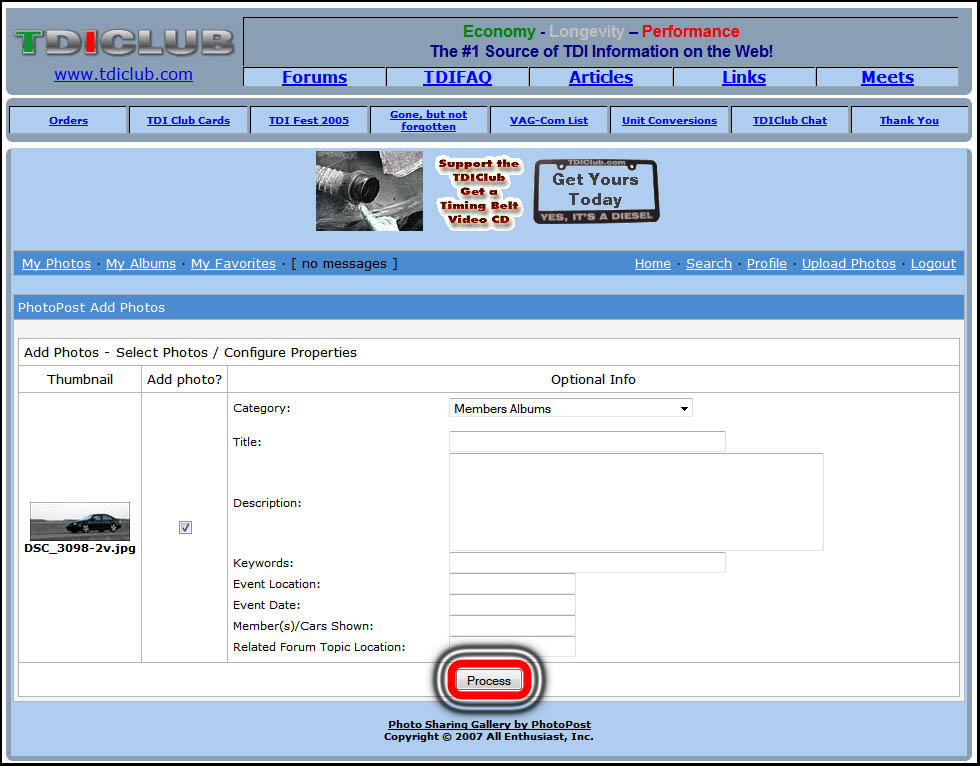
6. You can now add some optional informations about your image.
Click "Process".
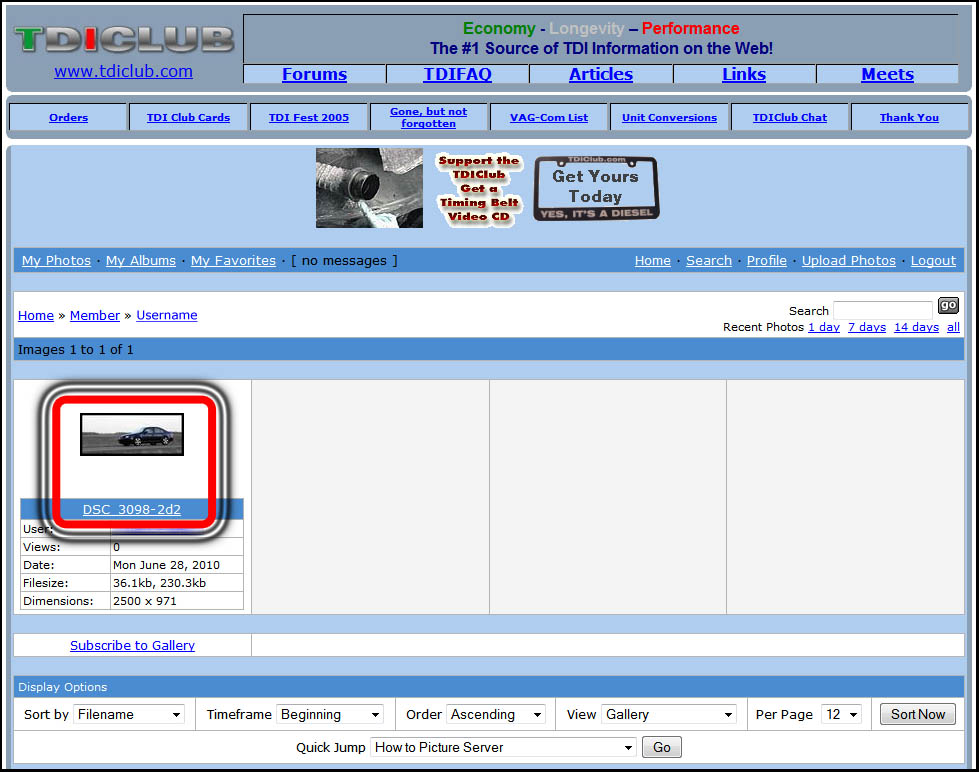
7. Your photo will now be shown in your personal folder.
Click on it.
8.
9. Now go back to your already started post or start a new post/thread.
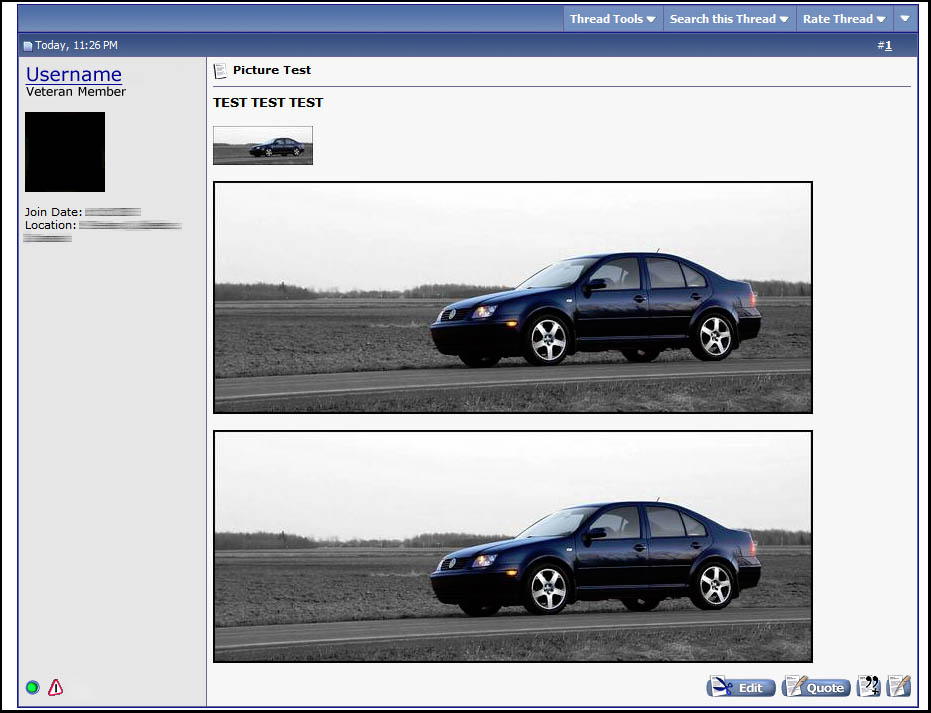
Paste (CTRL-V) the address you just copied in your message. I decided to paste the 3 links to show you the difference it makes.
10. Here's the result !
Some more informations:
You can also upload some small videos, PDF documents, Word and Excel files and insert them into your message the same way you would do it for an image with the "Linked Thumbnail" link.
This "How to" isn't explaining every aspects of the picture server but is you have any questions, just ask.
English not being my primary language, if something is wrong, please tell me.
French version
You can read the new instructions at this link.
-------------------------------------------
Uploading and posting pictures using the TDIClub picture server
With the new forum server update, the picture server has also been upgraded. Here's the new procedure.
To insert images in a post, you can use different services such as Photobucket, Picasa, Flickr and others but the advantage of using the TDIClub picture server is that your photos will always stay online in your posts. Pictures showed as a link to another website have the risk of being deleted or the link can sometimes change resulting in a missing picture in your message. That is particularly bad when the images are in a important reference post like a "how to".
Even better, your account on the picture server is already created using your forum identifications informations.
How to do in 10 easy steps:
1. Access the server by the link pics.tdiclub.com or by clicking the "Photos" link into the forum's header.
2. If you are not already logged in, you need to do it by clicking on "Login".
3. Login using the login informations of the TDIClub forum.
4. Once connected, your username will be shown.
Click on "Upload Photos".
5. Select the file from your computer using the Browse button and then click "Upload/Submit".
6. You can now add some optional informations about your image.
Click "Process".
7. Your photo will now be shown in your personal folder.
Click on it.
8.
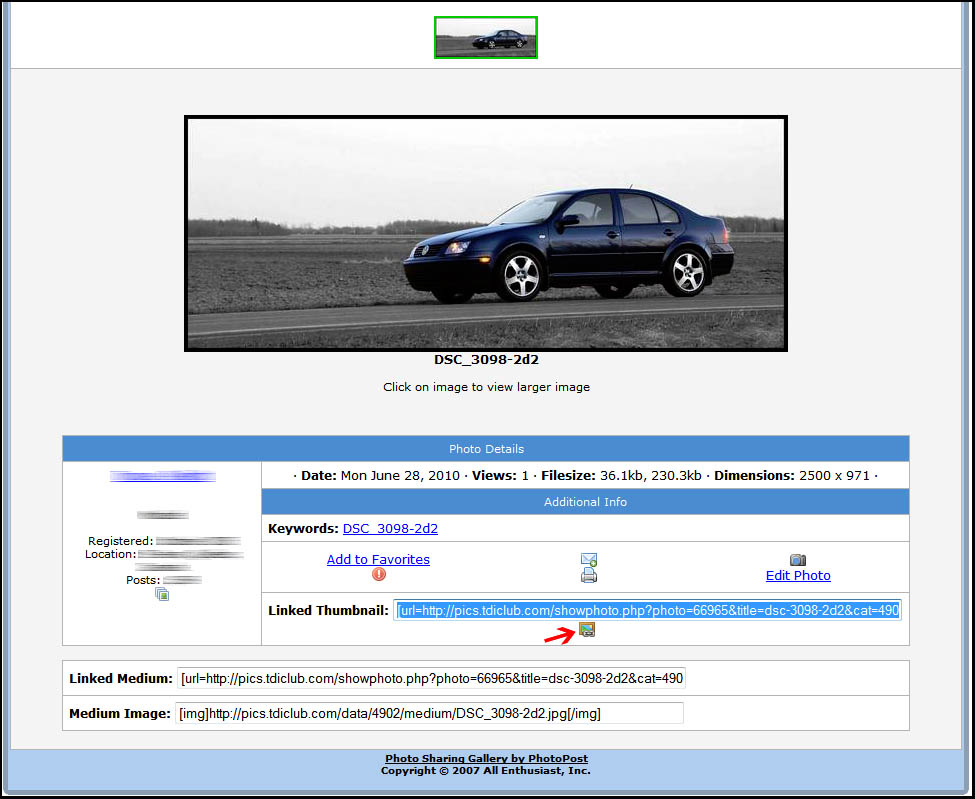
a) To insert a small sized image which is a link to the big image in your personal folder : Select the address "Linked Thumbnail" and copy it (CTRL-C).
For the other choices, click on the icon next to the previous link.b) To insert a medium sized image which will be a link to this image in your photo folder : Select the address "Linked Medium" and copy it (CTRL-C).
c) To insert a medium sized image only : Select the address "Medium Image" and copy it (CTRL-C).
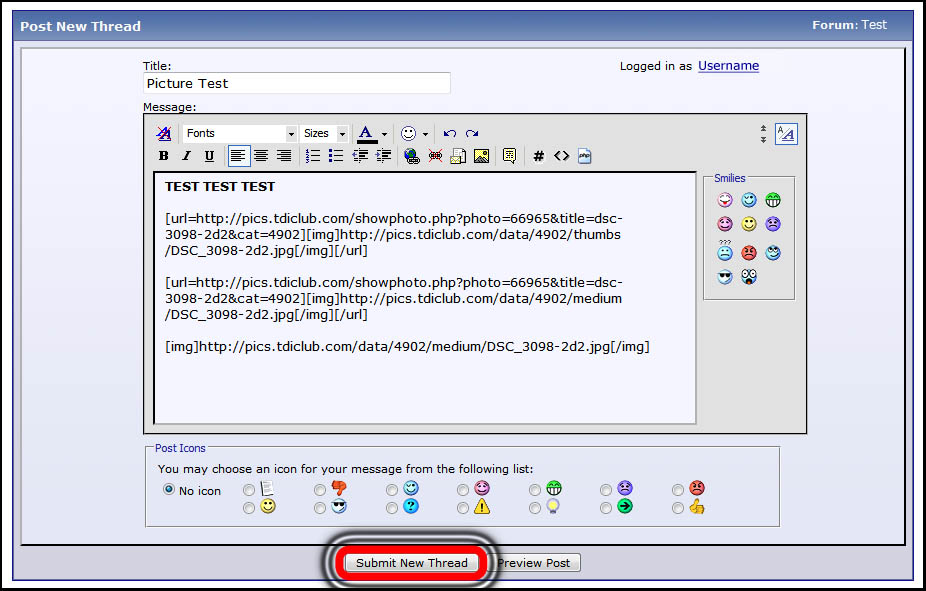
9. Now go back to your already started post or start a new post/thread.
Paste (CTRL-V) the address you just copied in your message. I decided to paste the 3 links to show you the difference it makes.
10. Here's the result !
Some more informations:
You can also upload some small videos, PDF documents, Word and Excel files and insert them into your message the same way you would do it for an image with the "Linked Thumbnail" link.
This "How to" isn't explaining every aspects of the picture server but is you have any questions, just ask.
English not being my primary language, if something is wrong, please tell me.
French version
Last edited by a moderator: