tdi_allan
Veteran Member
- Joined
- Feb 14, 2003
- Location
- Chicago, IL
- TDI
- 2003 Jetta Wagon, 2003 Jetta Sedan (Lemons racer), 2010 Touareg
\'02 Glow plug harness replacement (56k warning!)
Well, the CEL finally drove me over the edge. I've had the new gp harness for a while, but cringed at the thought of crimping wires on my 2 year old car. Besides, why was the wiring so long on the new harness? Bentley was suspiciously quiet on the subject. Follow along as I chart new territory (for me, anyway...
 ) I even have a few pictures to go along with the story!
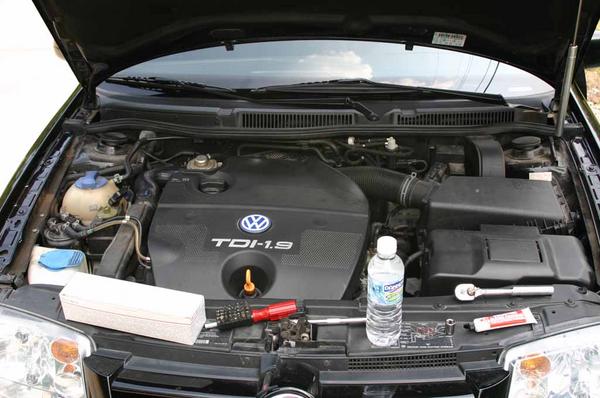
It always pays to start with the right tools. 10 mm, 13mm sockets, screwdriver, shop towels, a bottle of water and the new harness.
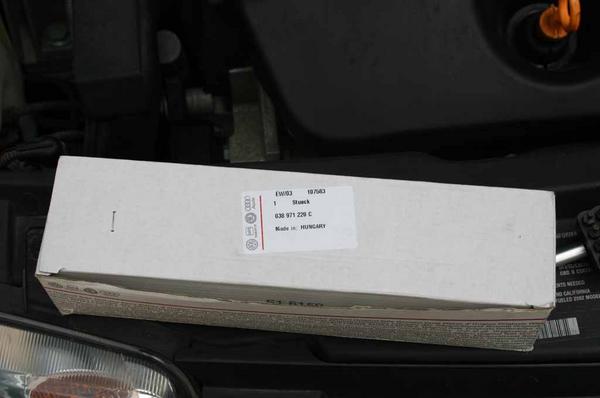
Here is the part number in case you need it.
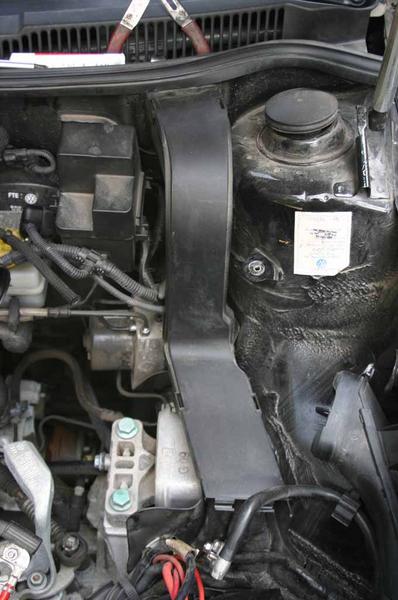
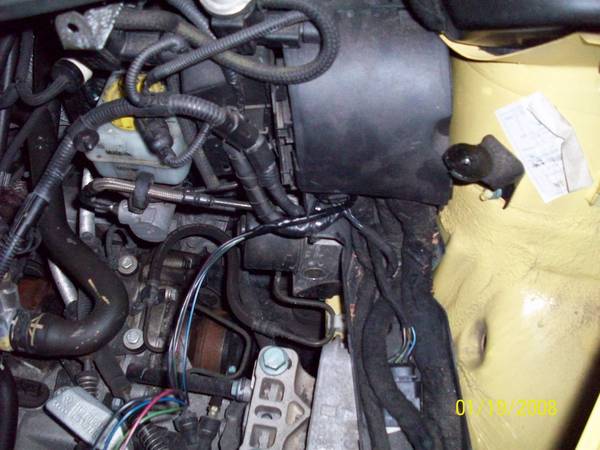
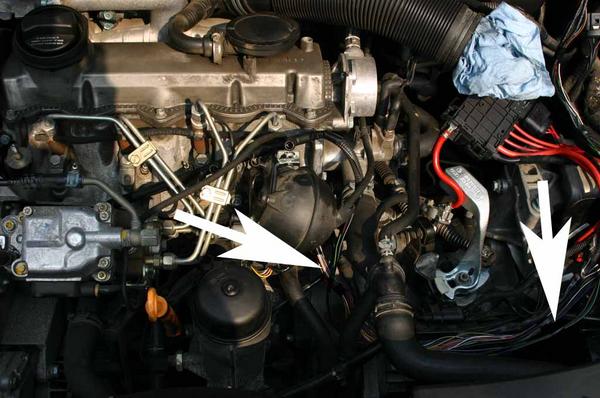
After removing the engine cover, battery and airbox, this is what you see. That black plastic thingamajig comes off fairly easily after you pull up some of the hood trim at the top.
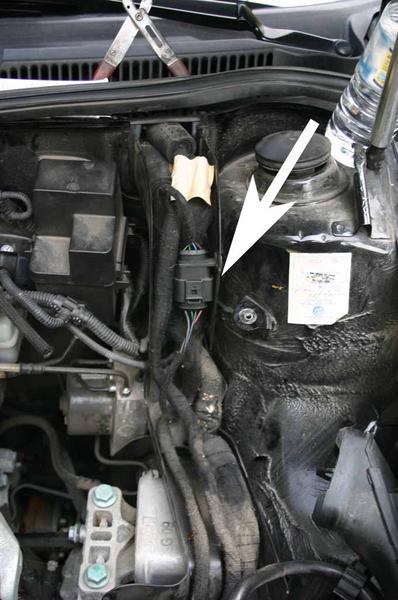
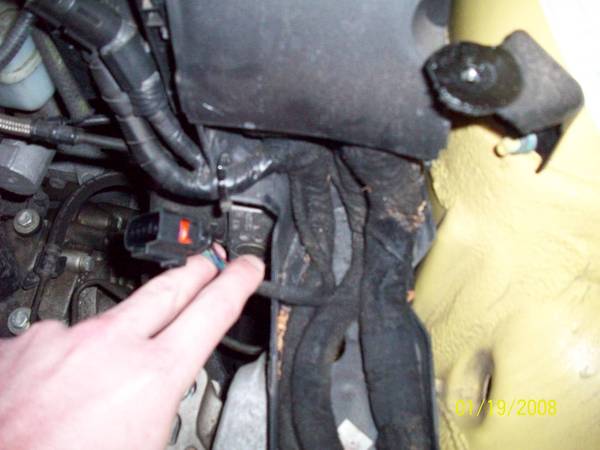
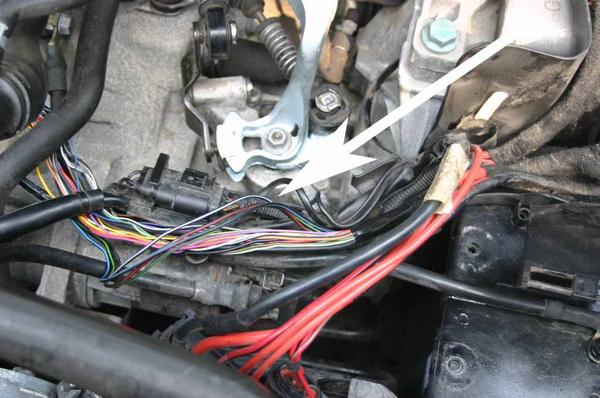
Jackpot! The white arrow points to the double-secret gp harness connection. I was quite surprised to find the gp harness wrapped with a bunch of other wiring! At this point, I was beginning to see why dealers charged a bunch of green to replace this.
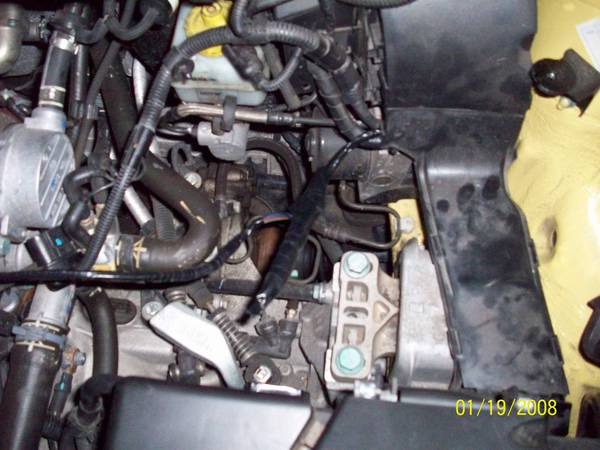
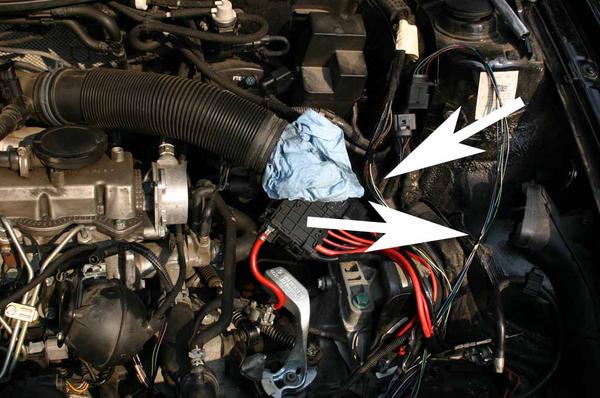
So, I carefully unwrapped the cloth electrical tape from the wiring that the gp harness was wrapped in. Yes, this took a while. No, I did not cut any important wires.
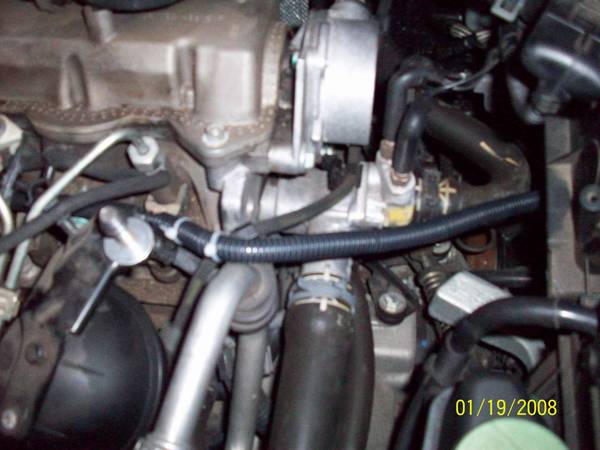
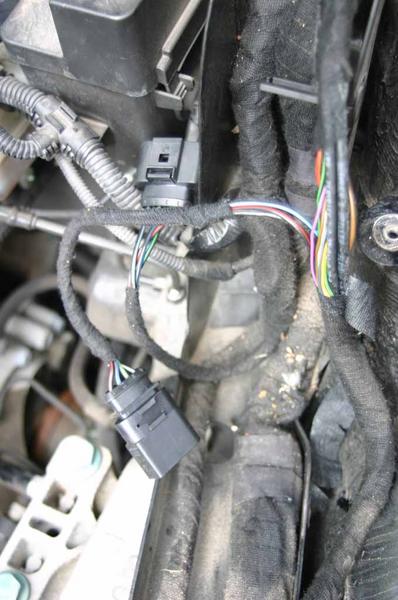
These are pics of the separated gp harness from the rest of the wiring it was trapped with. Note the TT shifter I installed while waiting for Dad to return with something suitable to re-wrap the wires in.
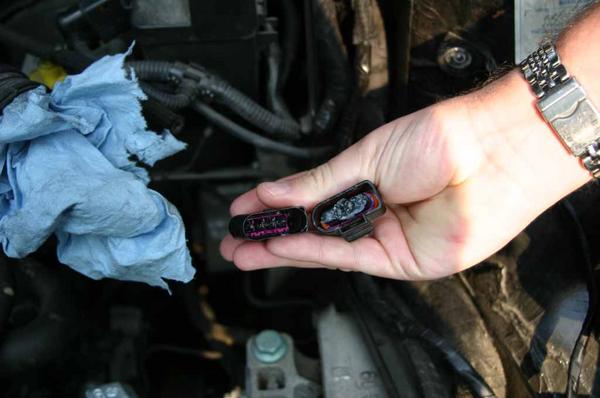
As long as all of this was apart, it was Cage Mod time! One of these days I'll get the rest of the car's connectors (this one and MAF so far.)
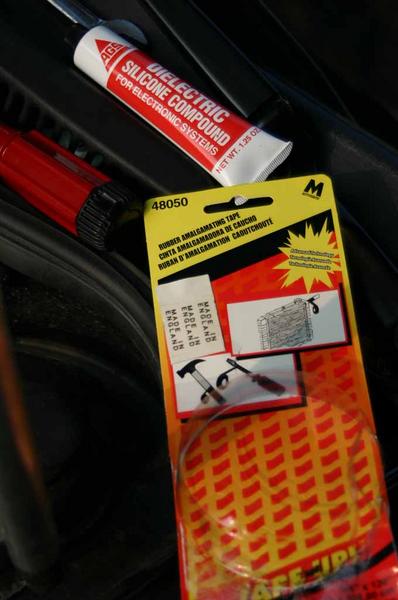
This is what I used to re-wrap the wiring. Not nearly as sticky as the cloth junk. I wrapped the gp harness separately, to make future replacement that much easier.
For everything else, installation is the reverse of removal.
Hope this helps someone out there, its a lot of work but worth it to do the job right. Those of you with pre-02 cars can crimp and be satisfied because there is no harness connector on those applications.
Well, the CEL finally drove me over the edge. I've had the new gp harness for a while, but cringed at the thought of crimping wires on my 2 year old car. Besides, why was the wiring so long on the new harness? Bentley was suspiciously quiet on the subject. Follow along as I chart new territory (for me, anyway...
It always pays to start with the right tools. 10 mm, 13mm sockets, screwdriver, shop towels, a bottle of water and the new harness.
Here is the part number in case you need it.
After removing the engine cover, battery and airbox, this is what you see. That black plastic thingamajig comes off fairly easily after you pull up some of the hood trim at the top.
Jackpot! The white arrow points to the double-secret gp harness connection. I was quite surprised to find the gp harness wrapped with a bunch of other wiring! At this point, I was beginning to see why dealers charged a bunch of green to replace this.
So, I carefully unwrapped the cloth electrical tape from the wiring that the gp harness was wrapped in. Yes, this took a while. No, I did not cut any important wires.
These are pics of the separated gp harness from the rest of the wiring it was trapped with. Note the TT shifter I installed while waiting for Dad to return with something suitable to re-wrap the wires in.
As long as all of this was apart, it was Cage Mod time! One of these days I'll get the rest of the car's connectors (this one and MAF so far.)
This is what I used to re-wrap the wiring. Not nearly as sticky as the cloth junk. I wrapped the gp harness separately, to make future replacement that much easier.
For everything else, installation is the reverse of removal.
Hope this helps someone out there, its a lot of work but worth it to do the job right. Those of you with pre-02 cars can crimp and be satisfied because there is no harness connector on those applications.


") )
)